
Sprzedawcy (Merchants)
.jpg)
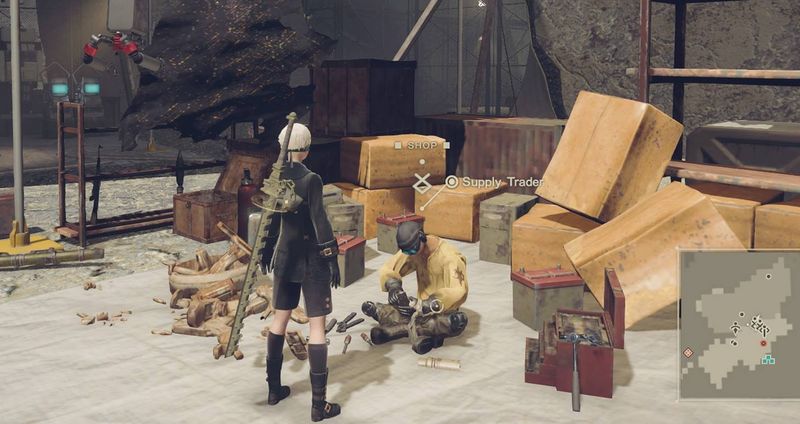
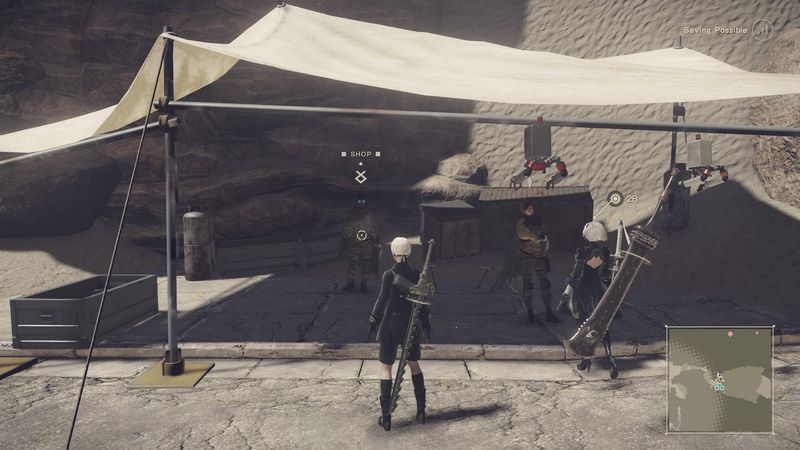
Sklepy w Nier: Automata dzielą się generalnie na trzy rodzaje. Item's Shop & Supply Trader (różne przedmioty), Weapon Shops (sklepy, w których kupimy i ulepszymy bronie) oraz Maintenance Shop (możemy tu zakupić i połączyć chipy oraz ulepszyć i nabyć programy do PODa). Niektórzy sprzedawcy mogą nam też zlecać questy poboczne. Część sklepów zostanie otwartych w miarę postępów w grze a nawet dopiero przy kolejnych podejściach. Także część asortymentu pojawia się dopiero w późniejszej fazie gry.
Ceny kupna / sprzedaży przedmiotów w sklepach wzrastają gdy przechodzimy grę drugi i trzeci raz (Route B i C). Ceny te mają również wpływ na rabaty, które można uzyskać w przypadku ulepszenia broni typu Machine (nie muszą być ekwipowane, aby uzyskać zniżki w sklepach). Jeśli chcesz sprzedać przedmioty w celu zakupu potrzebnych nam materiałów tudzież trofeów w ukrytym sklepie, najlepiej zrobić to w trakcie trzeciego przejścia gry (Route C rozdziały 12-17). Wówczas praktycznie za każdy przedmiot z opisem "Can be exchanged for money" dostaniemy niezłe pieniądze. Najbardziej wartościowym materiałem są Machine Core wypadające z silnych przeciwników (w sekcji poradnika z sekretami możecie poczytać jak je farmić). W trzecim przejściu można jedną sztukę Machine Core sprzedać za 22500G (w pierwszym warta jest zaledwie 10000G).
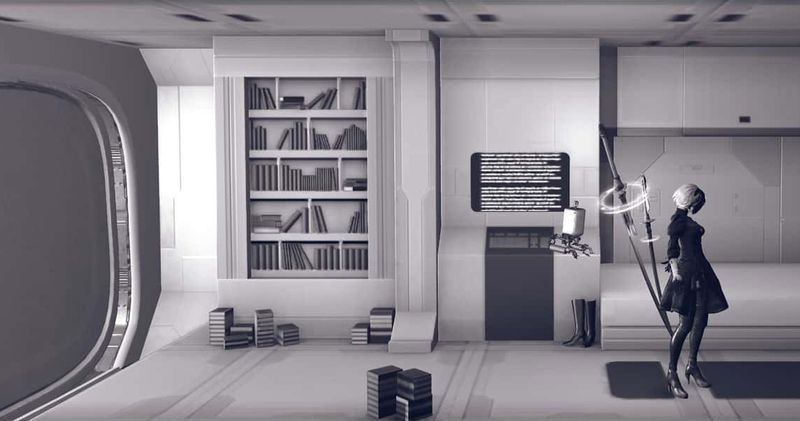
Item Shops & Supply Trader
The Bunker
Small Recovery
Medium Recovery
Melee Attack Up (S)
Ranged Attack Up (S)
Melee Defense Up (S)
Ranged Defense Up (S)
HUD: HP Gauge
HUD: Sound Waves
HUD: Enemy Data
HUD: Skill Gauge
HUD: Text Log
HUD: Mini-map
HUD: EXP Gauge
HUD: Save Points
HUD: Damage Values
HUD: Objectives
HUD: Control
HUD: Fishing Spots
Auto-Attack
Auto-Fire
Auto-Evade
Auto-Program
Auto-Weapon Switch
Resistance Camp Supply Trader
Small Recovery
Medium Recovery
Large Recovery
Visual Cure
Aural Cure
Cure Manipulation
Volt-Proof Salve
Melee Attack Up (S)
Melee Attack Up (L)
Ranged Attack Up (S)
Ranged Attack Up (L)
Melee Defense Up (S)
Melee Defense Up (L)
Ranged Defense Up (S)
Ranged Defense Up (L)
HUD: HP Gauge
HUD: Sound Waves
HUD: Enemy Data
HUD: Skill Gauge
HUD: Text Log
HUD: Mini-map
HUD: EXP Gauge
HUD: Save Points
HUD: Damage Values
HUD: Objectives
HUD: Control
HUD: Fishing Spots
Items Scan
Auto-Attack
Auto-Fire
Auto-Evade
Auto-Program
Auto-Weapon Switch
Weapon Attack Up
Weapon Attack Up +1
Weapon Attack Up +2
Ranged Attack Up
Ranged Attack Up +1
Ranged Attack Up +2
Melee Defence
Melee Defence +1
Melee Defence +2
Ranged Defence
Ranged Defence +1
Ranged Defence +2
Max HP Up
Max HP Up +1
Max HP Up +2
Hijack Boost
Hijack Boost +2
Stun
Stun +1
Stun +2
Animal Bait
Sachet
Sound Data 2
Sound Data 3
Sound Data 4
Sound Data 5
Amusement Park Items Shop
Copper Ore
Iron Ore
Silver Ore
Gold Ore
Crystal
Pearl
Black Pearl
Pyrite
Amber
Moldavite
Tree Seed
Plant Seed
Tree Sap
Torn Book
Tech Manual
Thick Dictionary
Tanning Agent
Dye
Natural Rubber
Machine Oil
Filler Metal
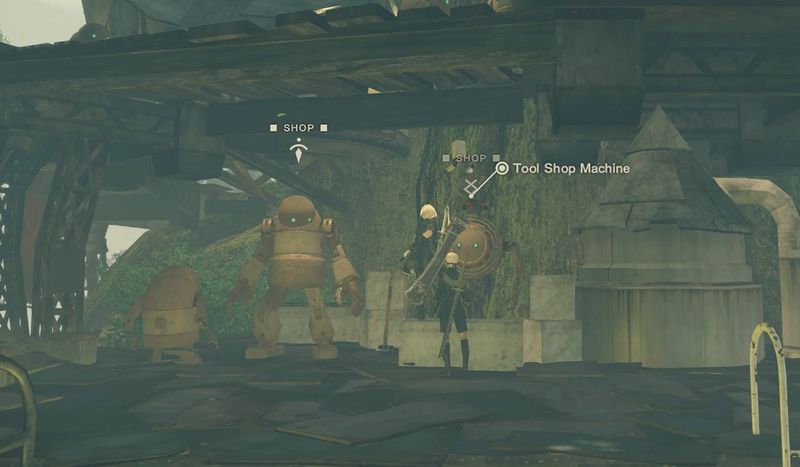
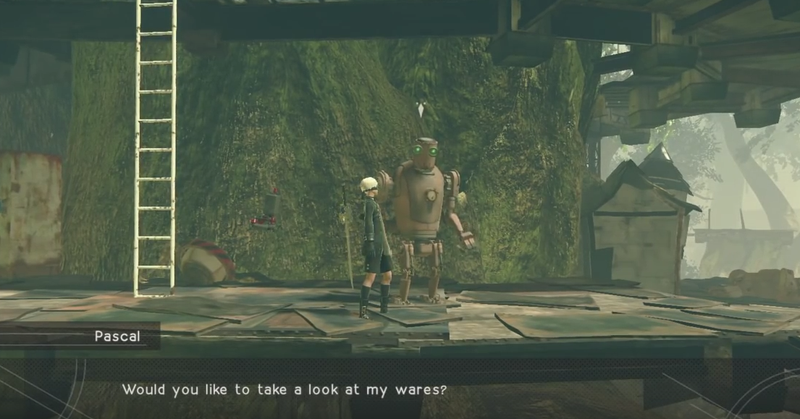
Pascal's Village Item Shop (Tool Shop Machine)
Small Recovery
Medium Recovery
Large Recovery
Visual Cure
Aural Cure
Cure Manipulation
Volt-Proof Salve
Melee Attack Up (S)
Melee Attack Up (L)
Ranged Attack Up (S)
Ranged Attack Up (L)
Melee Defense Up (S)
Melee Defense Up (L)
Ranged Defense Up (S)
Ranged Defense Up (L)
HUD: HP Gauge
HUD: Sound Waves
HUD: Enemy Data
HUD: Skill Gauge
HUD: Text Log
HUD: Mini-map
HUD: EXP Gauge
HUD: Save Points
HUD: Damage Values
HUD: Objectives
HUD: Control
HUD: Fishing Spots
Items Scan
Auto-Attack
Auto-Fire
Auto-Evade
Auto-Program
Auto-Weapon Switch
Fast Cooldown
Fast Cooldown + 1
Fast Cooldown + 2
Anti Chain Damage
Anti Chain Damage +1
Anti Chain Damage +2
Drop Rate Up
Drop Rate Up +1
Drop Rate Up +2
EXP Gain Up
EXP Gain Up +1
EXP Gain Up +2
Heal Drops Up
Heal Drops Up +1
Heal Drops Up +2
Stun
Stun +1
Stun +2
Animal Bait
Sachet
Pascal's Item Shop (dostępny pod koniec trzeciego podejścia do gry - Route C)
Machine Heads
Machine Arm
Machine Leg
Machine Torso
Machine Head
Children's Cores
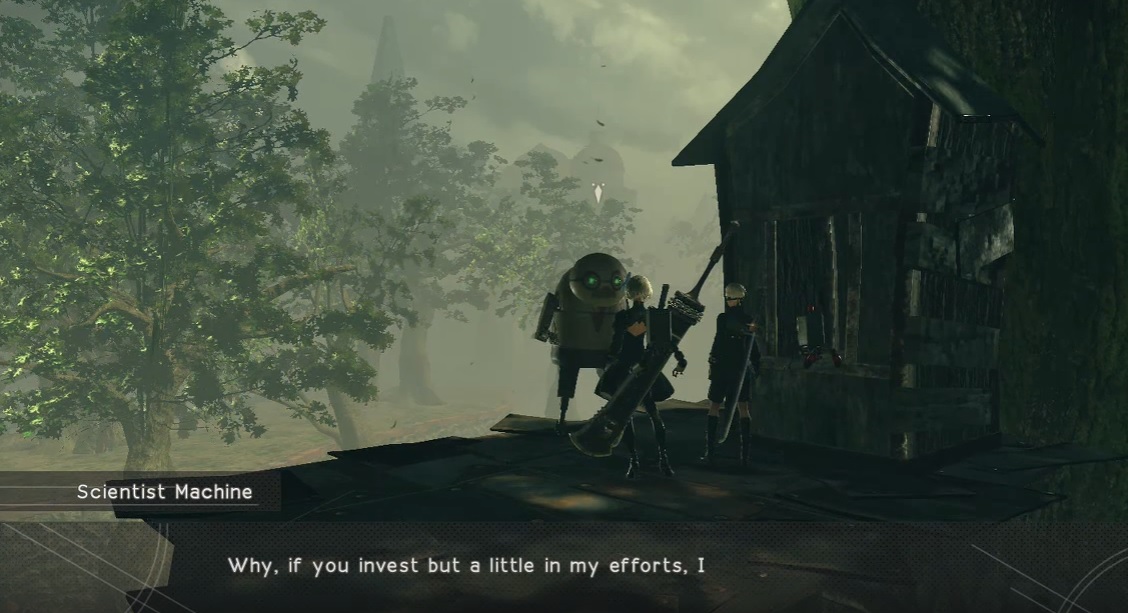
Scientist Machine's Item Shop (nieopodal Pascal’s Village. Aby zaczął handlować trzeba ukończyć quest Half-wit Inventor - patrz sekrety)
Meteorite Shard
Meteorite
Alien Mask
Desert Supply Trader (przed wejściem do Desert Zone)
Small Recovery
Medium Recovery
Large Recovery
Visual Cure
Aural Cure
Cure Manipulation
Volt-Proof Salve
Melee Attack Up (S)
Melee Attack Up (L)
Ranged Attack Up (S)
Ranged Attack Up (L)
Melee Defense Up (S)
Melee Defense Up (L)
Ranged Defense Up (S)
Ranged Defense Up (L)
HUD: HP Gauge
HUD: Sound Waves
HUD: Enemy Data
HUD: Skill Gauge
HUD: Text Log
HUD: Mini-map
HUD: EXP Gauge
HUD: Save Points
HUD: Damage Values
HUD: Objectives
HUD: Control
HUD: Fishing Spots
Items Scan
Auto-Attack
Auto-Fire
Auto-Evade
Auto-Program
Auto-Weapon Switch
Down Attack Up
Down Attack Up +1
Down Attack Up +2
Resilience
Resilience +1
Resilience +2
Counter
Counter +1
Counter +2
Charge Attack
Charge Attack +1
Charge Attack +2
Combust
Combust +1
Combust +2
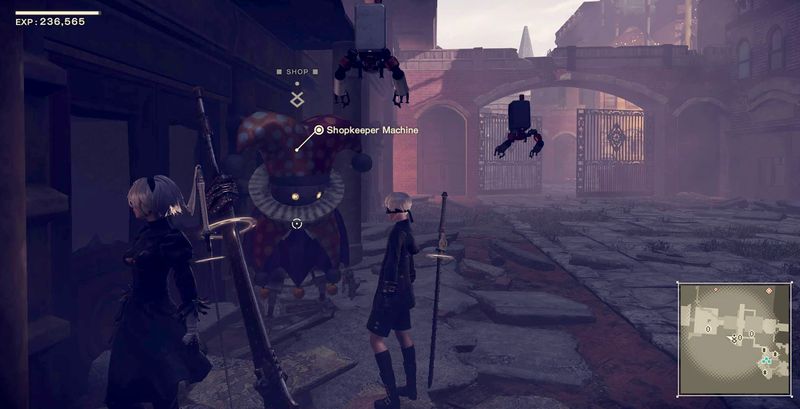
Emil's Item Shop (pojawi się na mapie w 6 rozdziale w lokacji City Ruins. Trzeba go trafić, żeby się zatrzymał i otworzył sklep)
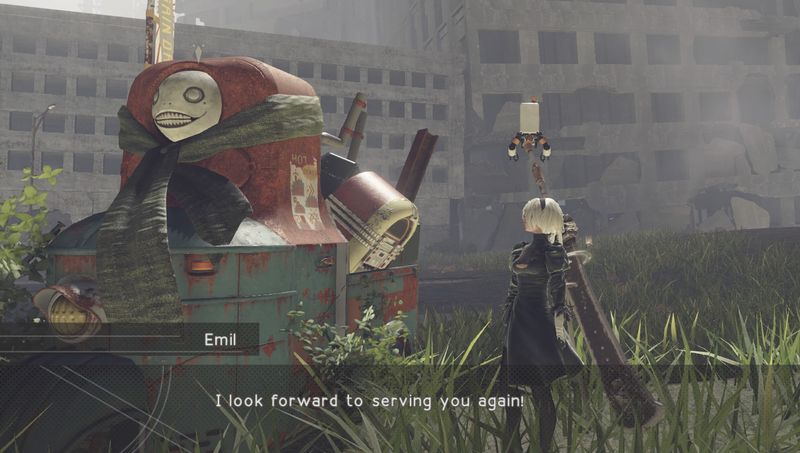
Emil jest dość nieprzewidywalny i w zależności od tego, gdzie się pojawi ze swoim jeżdżącym sklepem, oferować będzie określone Itemsy. Zazwyczaj znajdziemy go w City Ruins niedaleko pustyni, wówczas sprzedaje głównie chipy. Raz na jakiś czas respawnuje się jednak w okolicach razy rebeliantów (Resistance Camp) i wówczas oferuje unikalne chipy, bronie i przedmioty.
Standardowy asortyment (gdy respawnuje się w okolicach Desert Camp)
Weapon Attack Up +3
Down-Attack Up +3
Critical Up +3
Ranged Attack Up +3
Fast Cooldown +3
Melee Defense +3 3
Ranged Defense +3
Anti Chain Damage +3
Max HP UP +3
Offensive Heal +3
Deadly Heal +3
Auto-Heal +3
Evade Range Up +3
Moving Speed Up +3
Drop Rate Up +3
EXP Gain Up +3
Shock Wave +3
Last Stand +3
Damage Absorb +3
Vengeance +3
Reset +3
Overclock +3
Resilience +3
Counter +3
Taunt Up +3
Charge Attack +3
Auto-use Item +3
Rusted Clump
Dented Plate
Titanium Alloy
Broken Key
Warper Wire
Stretched Coil
Broken Circuit
Stripped Screw
Small Gear
Rusty Bolt
Crushed Nut
Dented Socket
Severed Cable
Broken Battery
Ekskluzywny asortyment (gdy respawnuje się w okolicach Resistance Camp)
Weapon Attack Uü+6
Down Attack Up +6
Critical Up +6
Ranged Attack Up +6
Fast Cooldown +6
Melee Defense +6
Ranged Defense +6
Max HP Up +6
Offensive Heal +6
Deadly Heal +6
Auto-Heal +6
Evade Range Up +6
Moving Speed Up +6
Drop Rate Up +6
EXP Gain Up +6
Shock Wave +6
Last Stand +6
Damage Absorb +6
Vengeance +6
Reset +6
Overclock +6
Resilience +6
Counter +6
Taunt Up +6
Charge Attack +6
Auto-use Item +6
Hijack Boost +6
Stun +6
Combust +6
Heal Drops Up +6
Type-3 Fists
Angel's Folly
Memory Alloy
Pristine Screw
Large Gear
New Bolt
Clean Nut
Sturdy Socket
Pristine Cable
Large Battery
Dress Module
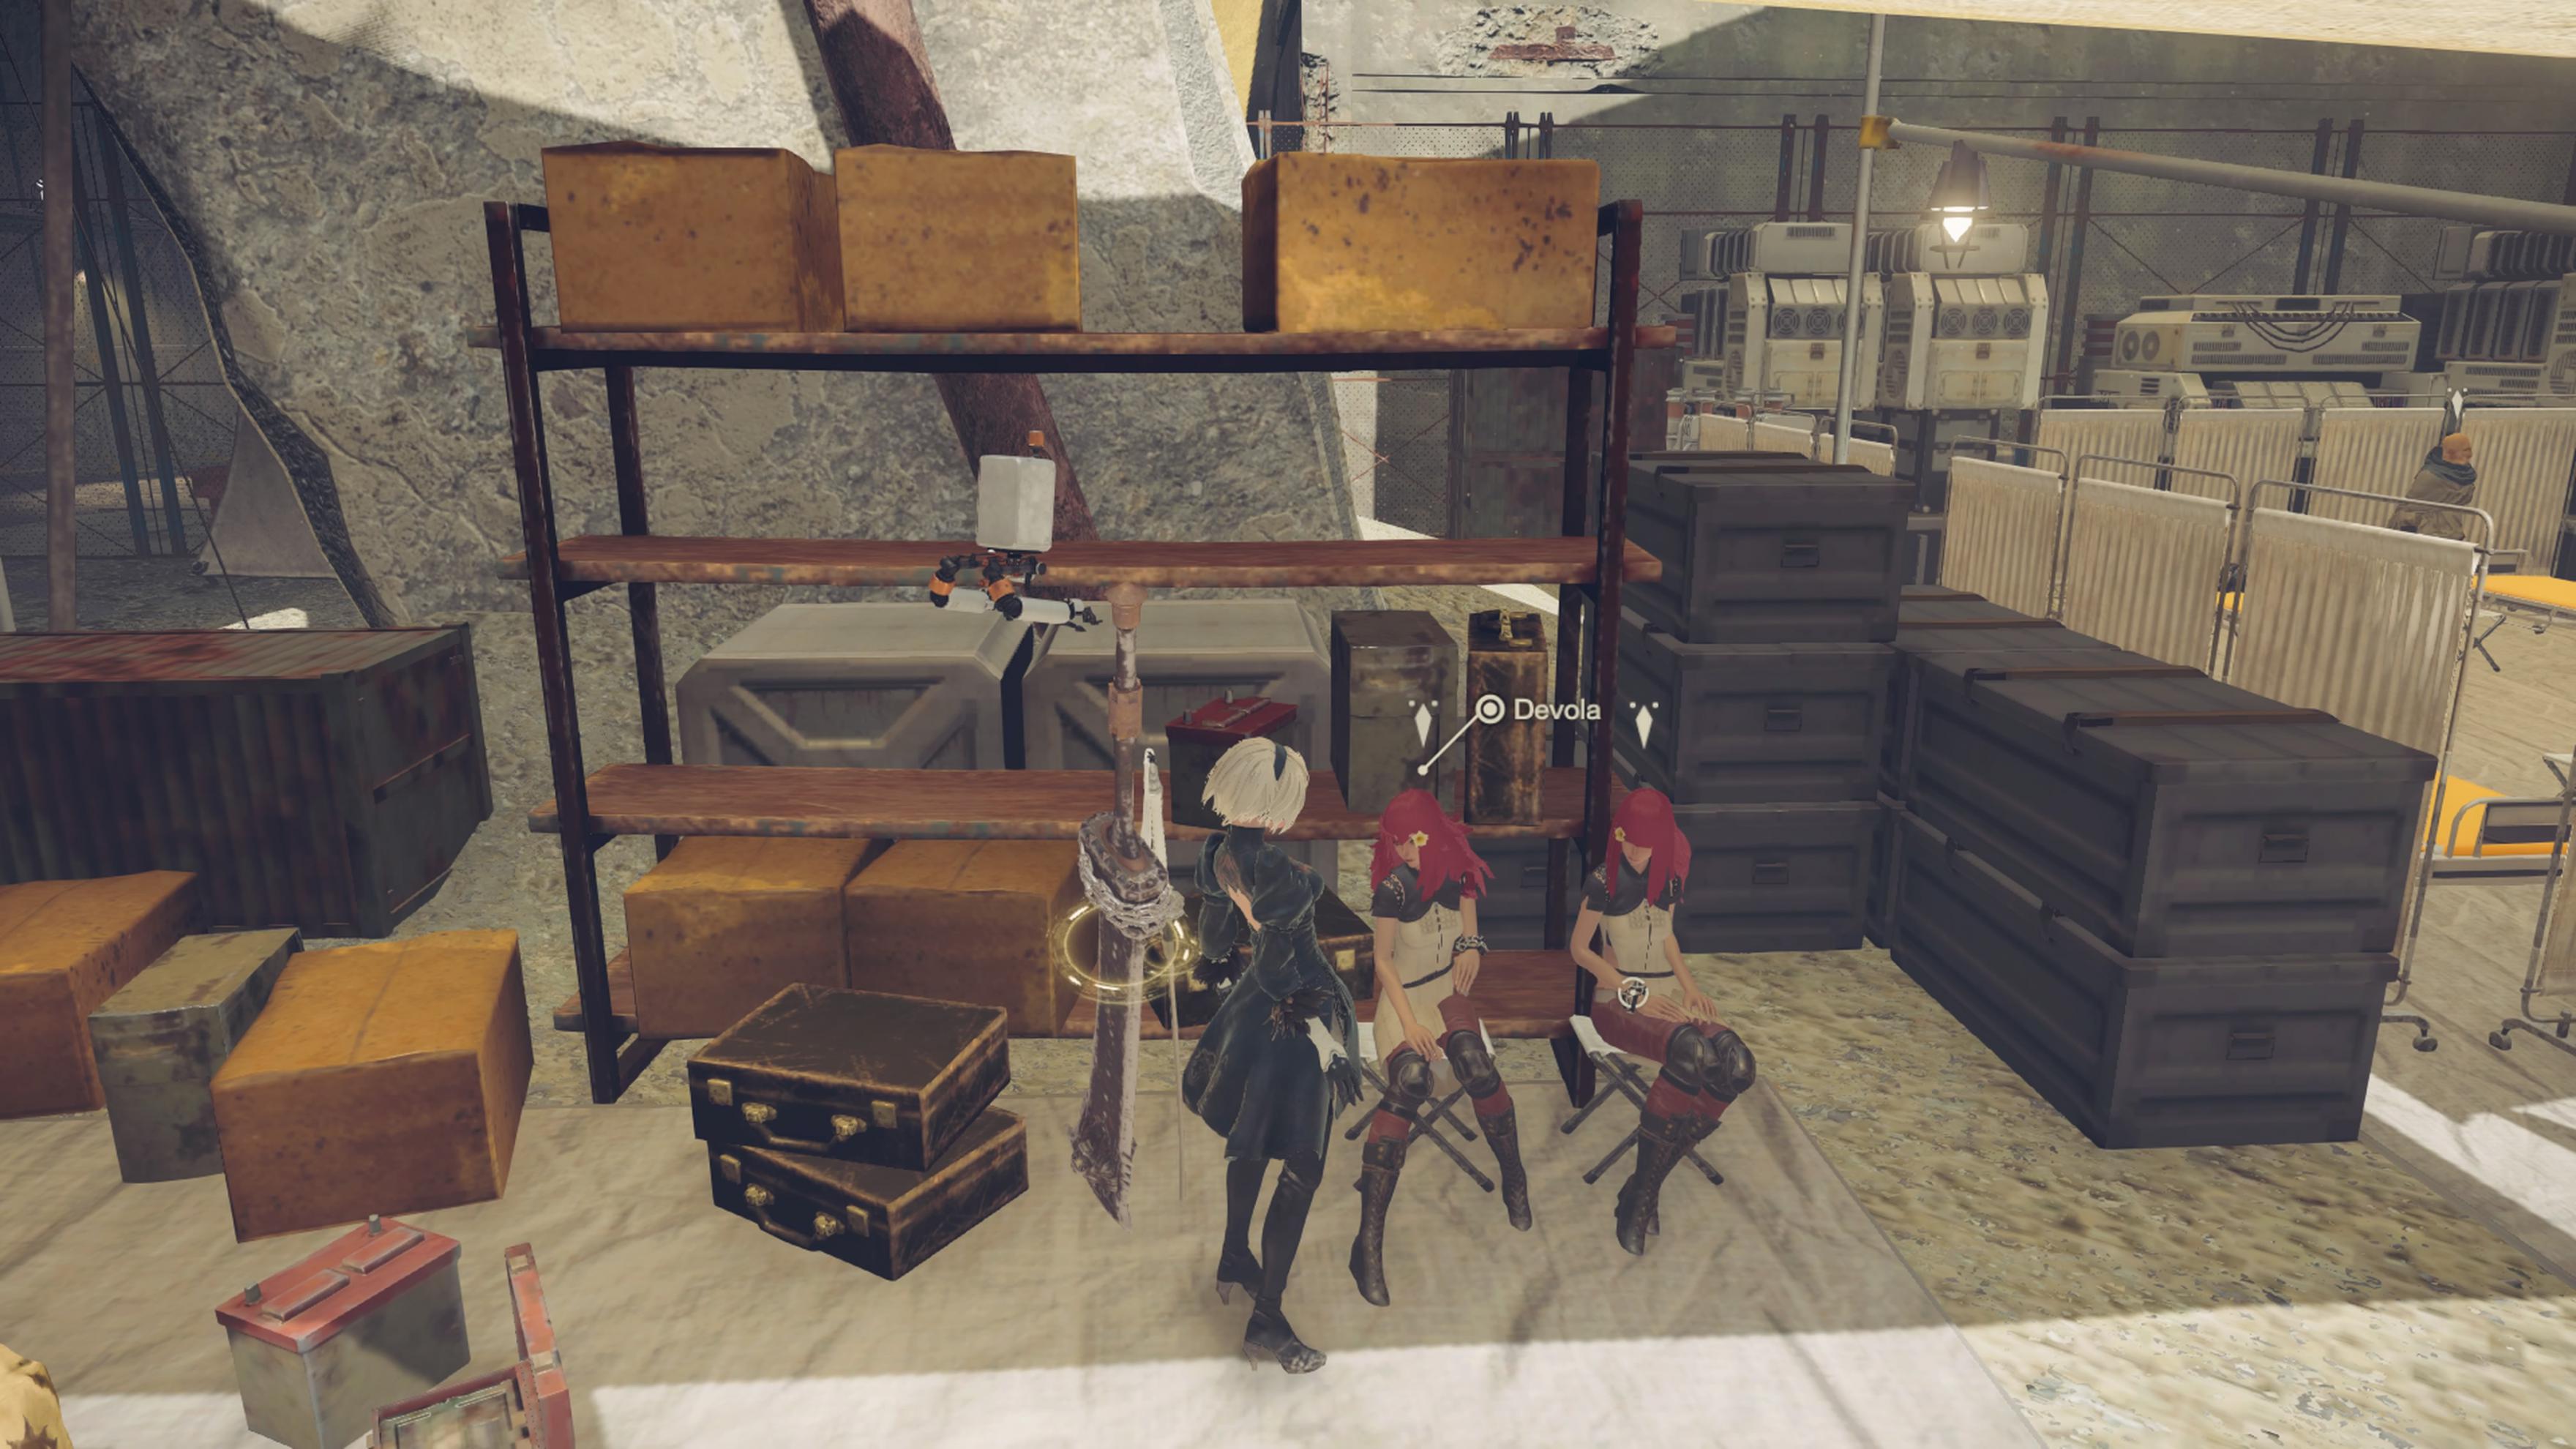
Devola & Popola's Shop (w późniejszej fazie gry w Resistance Camp)
Type-3 Sword
Type-3 Blade
Skill Salve (S)
Skill Salve (L)
Impact Bracer (S)
Impact Bracer (L)
Speed Salve (S)
Speed Salve (L)
Small G Luck
Large G Luck
Death Rattle
Evasive System
Continuous Combo
Bullet Detonation
Auto-collect Items
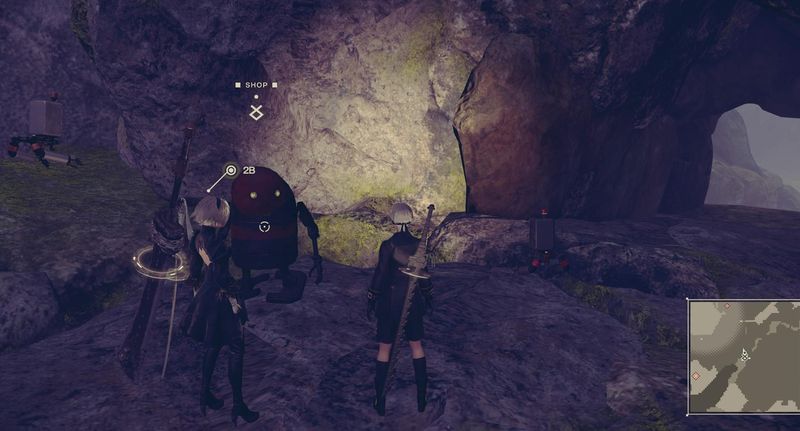
Canyon Machine Shop - (sekretny sklep w Forest Zone - patrz sekcja z sekretami)
Offensive Heal
Offensive Heal +1
Offensive Heal +2
Offensive Heal +3
Offensive Heal +4
Offensive Heal +5
Deadly Heal
Deadly Heal +1
Deadly Heal +2
Deadly Heal +3
Deadly Heal +4
Deadly Heal +5
Evade Range Up
Evade Range Up +1
Evade Range Up +2
Evade Range Up +3
Evade Range Up +4
Evade Range Up +5
Moving Speed
Moving Speed +1
Moving Speed +2
Moving Speed +3
Moving Speed +4
Moving Speed +5
Last Stand
Last Stand +1
Last Stand +2
Last Stand +3
Last Stand +4
Last Stand +5
Vengeance
Vengeance +1
Vengeance +2
Vengeance +3
Vengeance +4
Vengeance +5
Overclock
Overclock
Overclock
Overclock
Overclock
Overclock
Taunt Up
Taunt Up +1
Taunt Up +2
Taunt Up +3
Taunt Up +4
Taunt Up +5
Auto Use Item
Auto Use Item +1
Auto Use Item +2
Auto Use Item +3
Auto Use Item +4
Auto Use Item +5
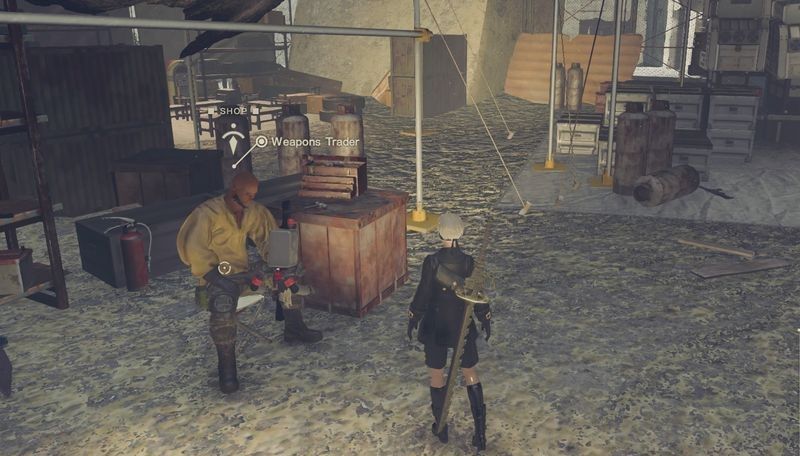
Weapons Trader
Kowale rezydujący w Resistance Camp i Pascals's Village mogą ulepszyć broń tylko do 3 poziomu. Aby dobić do levelu 4 trzeba odnaleźć Masamune w zamku w Forest Zone.
Weapons Trader Resistance Camp
Beastbane
Ancient Overlord
Beastlord
Weapons Trader Machine

Machine Sword
Machine Axe
Machine Spear
Weapons Trader Masamune (sekretny kowal ulepsza bronie do 4 poziomu - patrz sekcja z sekretami)
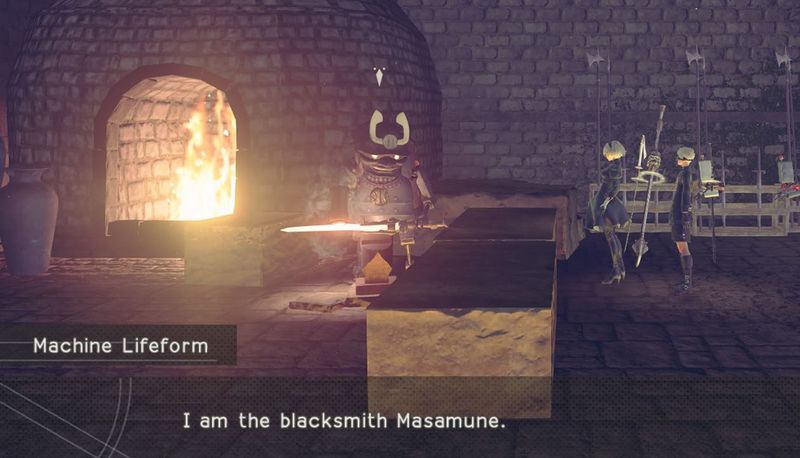
Machine Sword
Machine Axe
Machine Spear
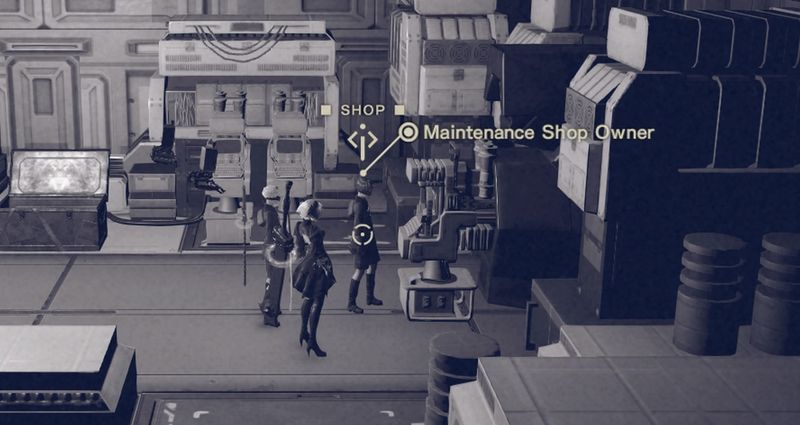
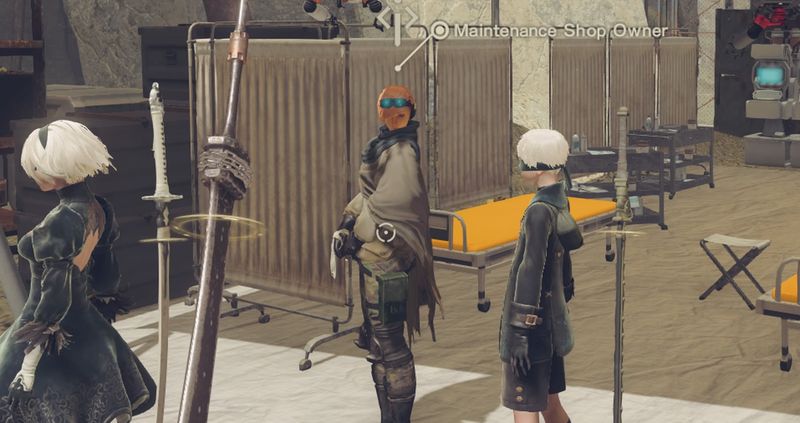
Maintenance Shops
The Bunker
R010: Laser
R020: Mirage
R030: Hammer
R040: Blade
R050: Spear
A060: P Shield
R070: M Shield
A170: Scanner
+8 Storage
+8 Storage
+8 Storage
+8 Storage
+16 Storage
+16 Storage
+24 Storage
Resistance Camp
R010: Laser
R020: Mirage
R030: Hammer
R040: Blade
R050: Spear
A060: P Shield
R070: M Shield
A170: Scanner
+8 Storage
+8 Storage
+8 Storage
+8 Storage
+16 Storage
+16 Storage
+24 Storage